Paper sculpture is one of the most enjoyable and rewarding forms of art for kids. With every project, young students practice techniques that build spatial awareness, fine motor control, problem solving and creative decision making. If you’re a parent or teacher looking for sculpture projects, Golden Road Arts has a range of lessons for elementary and middle school children.
5 Paper Sculpture Projects for Children to Try
Working with paper teaches core sculpture techniques like folding, curling, cutting, rolling and layering. The following five projects will help children become familiar with the methods they’ll need for sculpture work in the future.
1. Accordion-Fold Animals
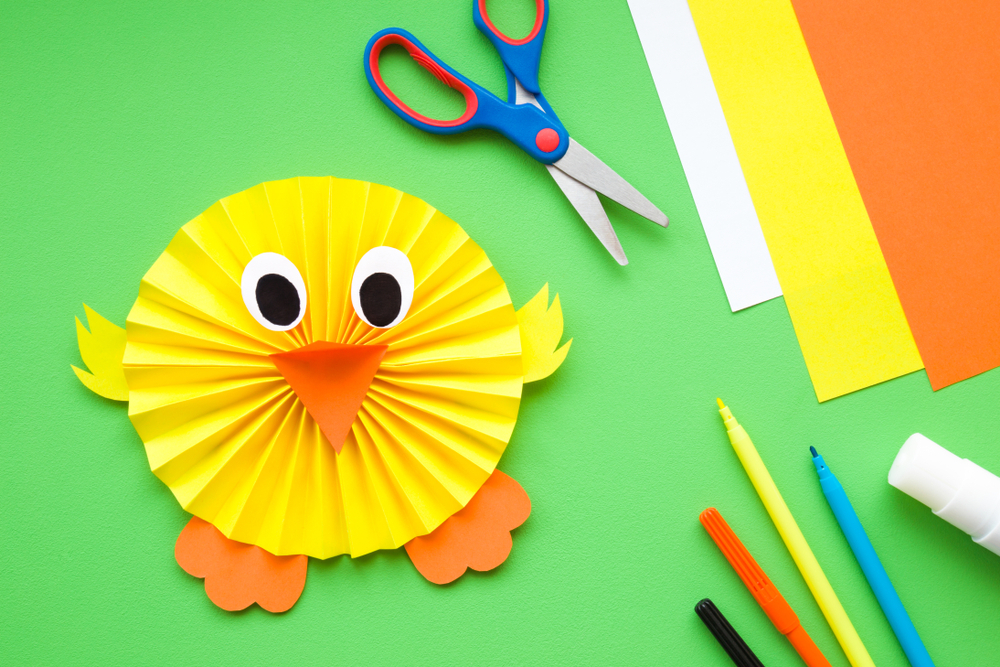
For this project kids create animals with long, bendy bodies like caterpillars, snakes or crocodiles. Simply fold a strip of paper back and forth in an accordion fold to create a springy, zigzag body. Using different pieces of construction paper, cut out a head, legs, wings or a tail and glue them to the folded body.
2. Geometric Paper Robots
A geometric paper robot requires precise folding and multi-part construction, making it a perfect sculpture project for middle school artists. Start with the main body, using card stock to create a sturdy base for the 3D shapes you’ll attach. Next, use paper cubes, cylinders, cones and boxes to build the head, arms and legs, joining them with glue or folded tabs. Finish by adding paper buttons and screens to give your robot its own personality.
3. Layered Paper Coral Reefs
Create a colorful underwater scene with curled, folded, fringed and fan-shaped paper. Start with thick cardboard or a shoebox lid as the foundation, then glue paper coral and sea plants onto the surface. Mix different materials such as tissue paper, card stock and colored paper to vary the shape and texture. Cut out and glue on small paper fish or shells to add to the scene.
4. Standing Paper Castles
For a paper castle project, roll card stock into tubes for the towers and fold rectangles into walls. Next, cut small slots into the towers so they can fit onto the walls. Kids can then add more complexity based on their age and ability, such as creating cone-shaped roofs, cutting out windows and drawing bricks.
5. Spiral Paper Mobiles
Start your spiral paper mobile project by sketching a spiral on a paper circle, beginning at the outside edge and winding into the center. Kids can then cut along the line or get help from a parent or teacher. After creating around five spirals, they can add colors and patterns before attaching thread to the center of each. Finish by tying the spirals to a stick or coat hanger at different lengths, then hang the mobile up to display.
Tips for Creating Paper Sculptures
Creating art at school or at home is easier when you know a few basic ways to shape and join paper. These tips can help children create pieces that look good and hold together.
- Use thick paper or card stock to help the structure stand on its own.
- First score the lines with a ruler for neat and straight folds.
- Curl paper around a pencil for spirals and rounded shapes.
- Glue pieces together using small folded flaps.
- Start with larger sections and then move on to decorative pieces.
Once children understand the basics they can start thinking about their own project ideas. At this point you can encourage them to experiment with more complex techniques.
Try Our Free Online Art Lessons Today
For more sculpture projects and instructional art guides, browse the Golden Road Arts library. We create fun and creative tutorials for elementary and middle school children. Call (503) 718-7097 or browse our free art lessons.