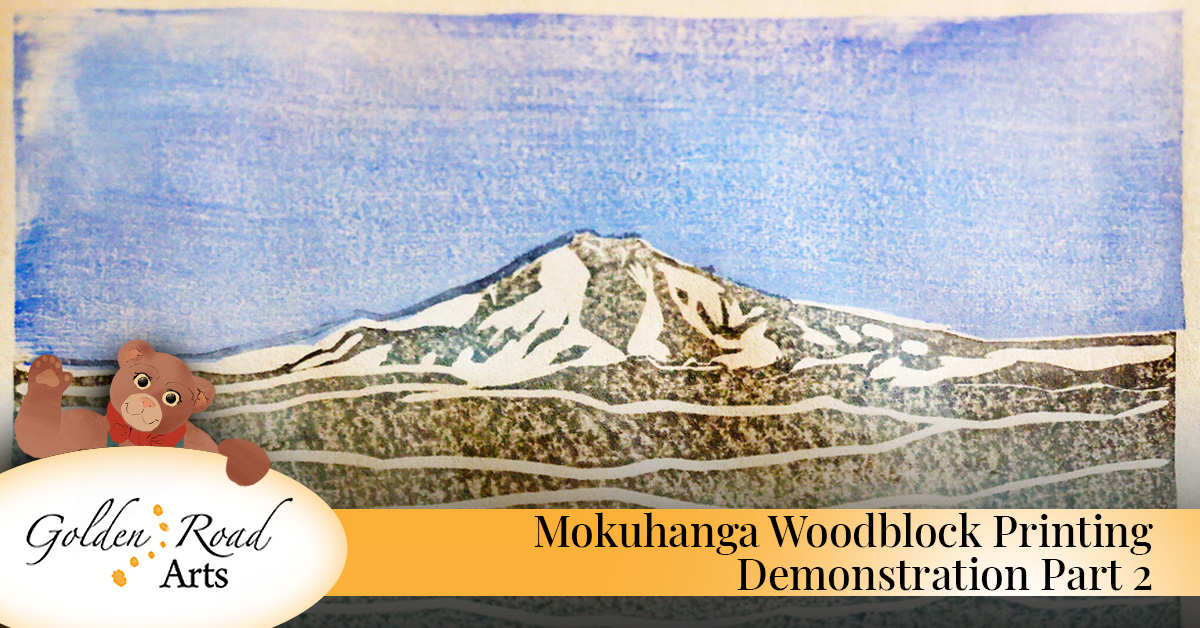
We’re back with part 2 of our mokuhanga woodblock printing demonstration. In part 1, we introduced the tools and materials and got started with the printing process. Today we’re continuing with tips on ink, paste and pressure, including what to do when things don’t go as planned.
The Mokuhanga Woodblock Printing Process
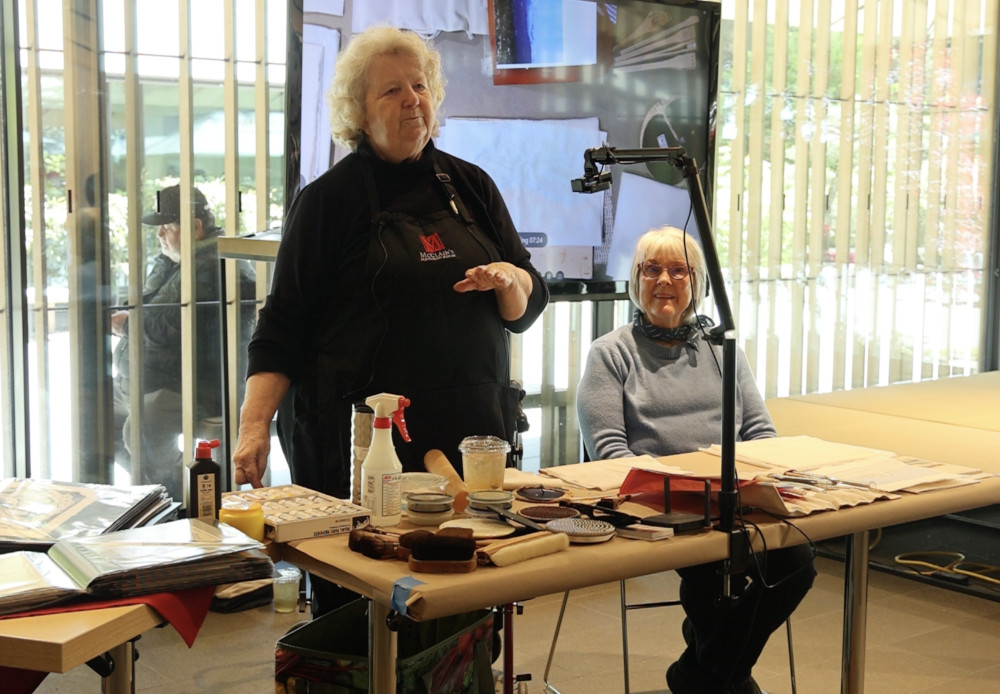
In this lesson, we look at the techniques that bring a mokuhanga print to life. Barbara walks us through the process, drawing on her 25 years of printmaking experience.
Materials Required for Mokuhanga Printmaking
- Mokuhanga woodblock
- Shina plywood block
- Pigments
- Rice paste
- Water
- Small brush or bamboo brush for paste
- Baren
- Japanese paper
- Spray bottle
- Additional carved blocks (as needed)
Follow the Hands-On Mokuhanga Woodblock Printing Process
Read the transcript below to learn how Barbara approaches the mokuhanga printing process using simple, practical steps.
Let’s see how it prints. Okay, so we’re going to get a little paste here. Good one. I think that’s it. Yeah, that’s a dark one.
This one. That’s the real dark one.
So there’s more than one color on this block over here. When you first start doing this, I know you’ll find this hard to believe, but you have paint, paste and junk everywhere. You have water everywhere.
I can remember when we were first working, the instructor came around and said, “How come you’re using so much paste?” I don’t know. He said, “How come you’ve got so much water?” You have to learn how to do it. It’s just like learning to read. It’s a process.
So I’m just getting this block a little wet here.
This is kind of a blue. The top of this has some dark.
So I actually look like I know what I’m doing here. No. Are we just winging it? We don’t know.
This block was pretty dry, but we’ll see. This is really nice. Could you come over and do this, Mara? I like this. This is good.
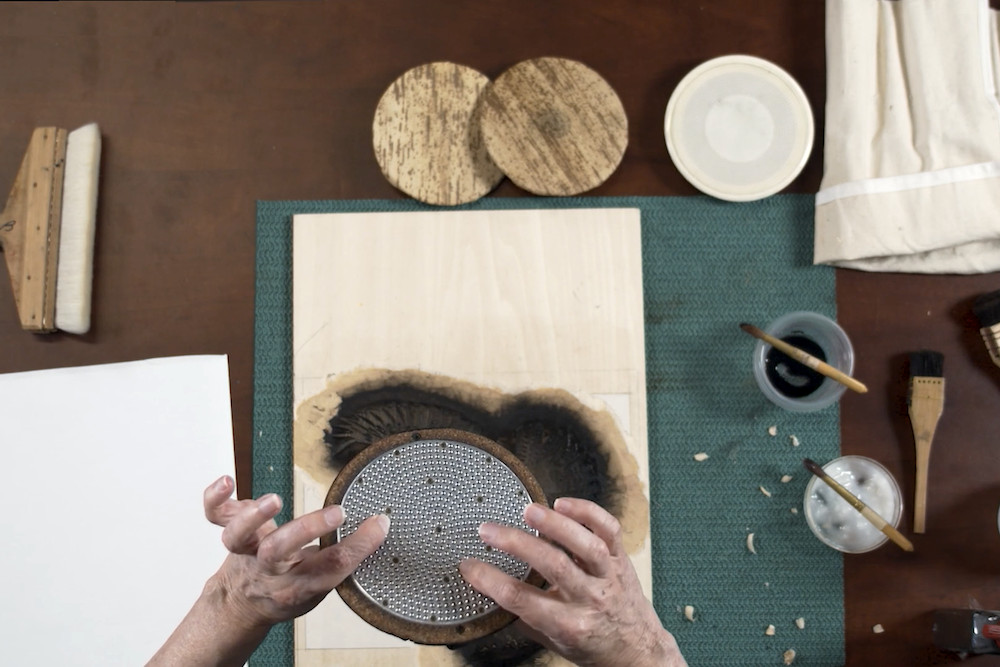
So I’m going to print this with this other baren now, so you can hear it. This is going to give me a lot more pressure.
See how you can see that right through the paper?
Not hideous. Not hideous. That’s a terrible thing to say. Sorry.
Traditionally, they would take a piece of bamboo and shred it, then kind of make it into a little brush. That’s what they would use to drop the paste onto the block. But you kind of end up just doing whatever you have handy.
Okay, so this registration system is so accurate. It’s just unbelievable how accurate it is, having done other kinds of printmaking.
What happens is that you notice we’re just stacking them up, one on top of the other, and the paint doesn’t come off on the next print. That’s because of the binder. It holds it in the paper.
That looks a little off, doesn’t it? Maybe I wasn’t careful with my registration. That’s right. That’s the same.
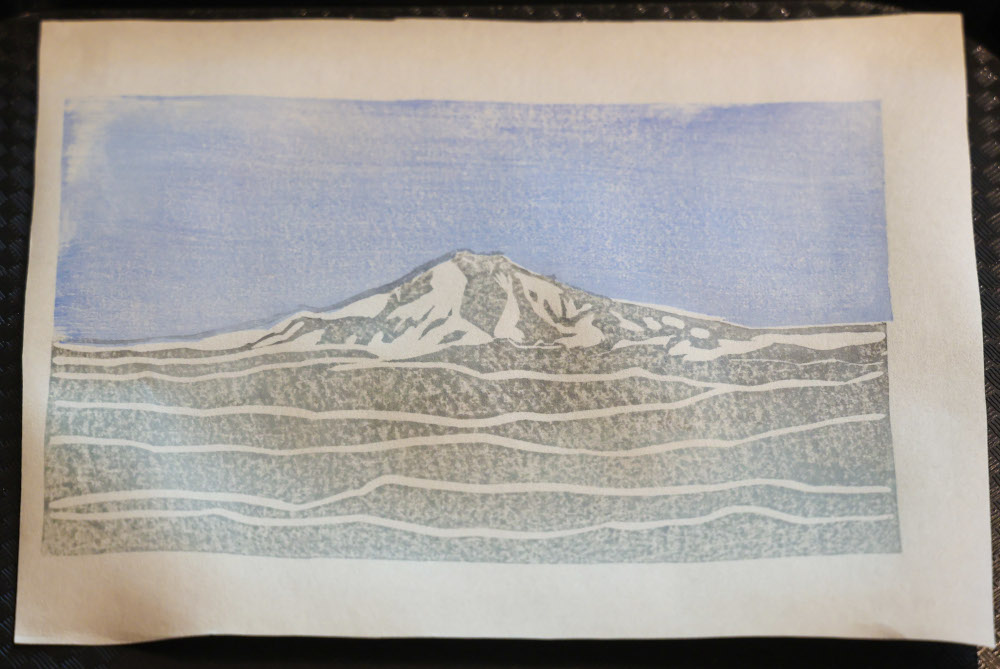
And if you get done with this and you say, “Boy, it looks terrible,” you can just go back and carve another block.
I can remember when I was first doing this and we’d be on the internet all the time asking questions because we were stumbling along and didn’t know what we were doing. We were constantly harassing poor David Bull in Japan and saying, “Well, how many blocks do you think it’ll take?” His answer was, “It takes as many as it takes.”
So if he felt it wasn’t done enough, he would just carve another block.
Let’s see if we can make this a little darker here. It’s pretty wet. Maybe not so bad.
I know I’m making this look pretty easy. I hope I’m making it look easy. So if you try this and you’re tearing out your hair, don’t blame me.
You see all this mottled stuff? That’s too much water. Maybe too much paste. Just water. Too much water. The block is getting wet. Maybe that’s good.
Depending on how you want it to look, when you get experienced at this, you can use less paste, more paste, more pigment or less pigment.
Pushing hard. That’s good.
Is that it? We’re done? One more. One more. Okay.
Whenever you decide that you want to do something for any kind of a demo, it’s always a challenge because there are so many people before you who were so good at it.
I’ve been doing this process for maybe 25 years, maybe longer than that. I never show this work. I never put it in a frame and put it in a gallery. I just do it for fun because I’ll never be good enough.
The people who really do this are so good at it. They’re so good at carving and so good at printing. I’m too fussy with myself.
Oh, now that one really looks good. I like that. That was really dark. Ooh, the black. Yum.
Okay, so now, where’s my other block?
Now what we’re going to do here is spray this and make this. I thought this was going to be kind of green, but it doesn’t seem like it’s that green, is it? If you use this black, this is the black.
On both sides. Yeah, because I’m cheap. I carve on both sides. It’s not a very thick block either. What is that? It’s a quarter of an inch.
If you’re carving real deep, I’ve seen people who had holes in their blocks like lace. They’ve carved it, and if it doesn’t show on the other side, it doesn’t matter.
This wood is a special kind of wood that comes from Japan called Shina plywood. Traditionally, the kind of wood they used in Japan was mountain cherry. Mountain cherry is really hard. It would be like maple or hickory. It’s real hard.
Gradually, over the years, they have had less and less mountain cherry. One of the things they’re doing is taking some of the old blocks and slicing them off. Some of them were so thick, they were slicing them off and carving them underneath.
This plywood is really easy to carve. It doesn’t have voids in it, and it doesn’t have a lot of glue in it. If you’ve ever carved MDF, don’t ever carve MDF with your tools. It just trashes your tools. It’s so hard on your tools.
Okay, let’s see if this is going to be…
It’s about 2:00, right? Okay, so we’re pretty much going to be done here. I’ll print the next one, and then we’ll stop. If anybody has questions, you can just come up and ask me.
You don’t want to do that to keep yourself because sometimes you find out that you need more paste or less paste to get different looks. So if the paste is in there, you’re kind of stuck. You might have to redo your ink. You can’t change it. It’s better to have it separate.
Have you ever gotten to a point where you let one dry and then decide to go back and do one more?
Yes, you can.
And the other thing you can do, and you don’t want anybody to hear you say that I said this, but if your paper is wet and you get interrupted and you know you’re going to come back and print it in a couple of days, but you can’t do it now, you can roll it up and put it in the freezer.
But it’s tricky doing that because you do have to let it thaw. It doesn’t take very long to thaw, but even the freezer is sucking the water out of it. It’s better to just let the paper dry and then get it damp again.
So now you know everything I know.
Enjoy Free Art Lessons From Golden Road Arts
Golden Road Arts is an Oregon non-profit that provides free art lessons for elementary and middle school students. We provide online tutorials and in-person events to help children develop their creativity. Call (503) 718-7097 or browse free art lessons today.