Today we’re back for another fun and educational art project for kids. The last time we were here, Barbara Mason showed how to color and decorate a robot collage.
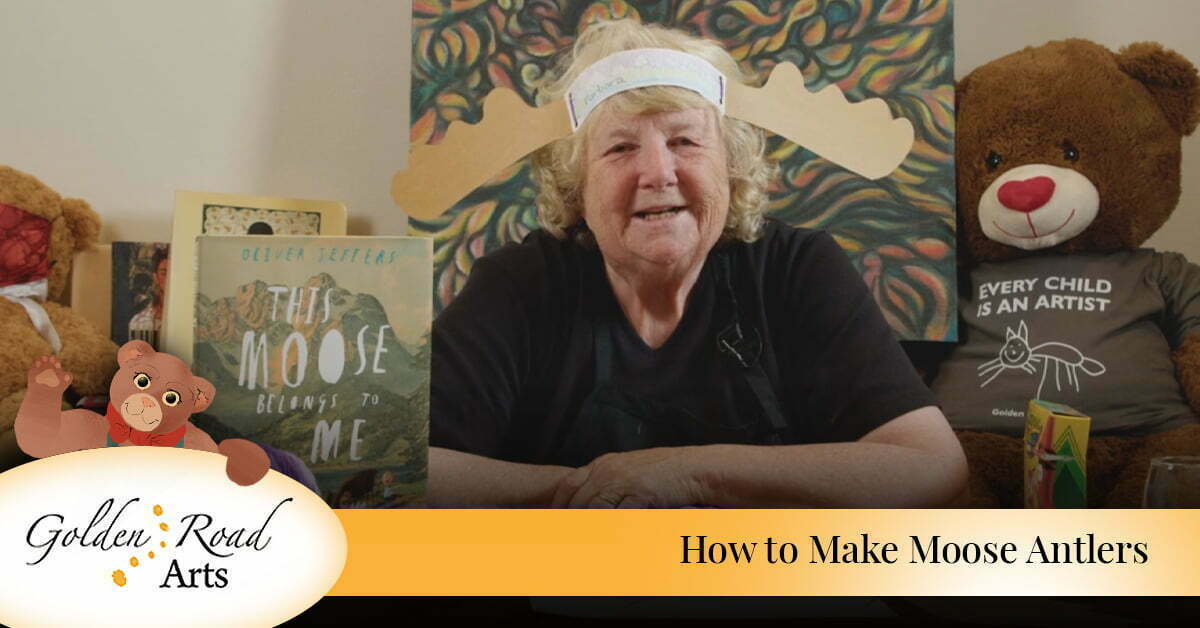
In this lesson, Barbara is going to demonstrate how to make moose antlers as part of a collaboration with Library on the Loose.
Creating Moose Antler Headbands for Kids Video
Find out how to make a moose antler headband with simple household supplies. Use the free moose antler template and add your own decoration.
Materials Required for Moose Antlers
- Moose antler template
- Computer paper
- Thicker brown paper
- Crayons
- Stapler
- Yarn
Don’t forget to check out our robot collage art project if you missed it.
Watch the Moose Antler Design Process
Follow along with the video transcript and see how Barbara creates and assembles a unique moose antler headband. If you find the project useful, you can support art for kids by donating.
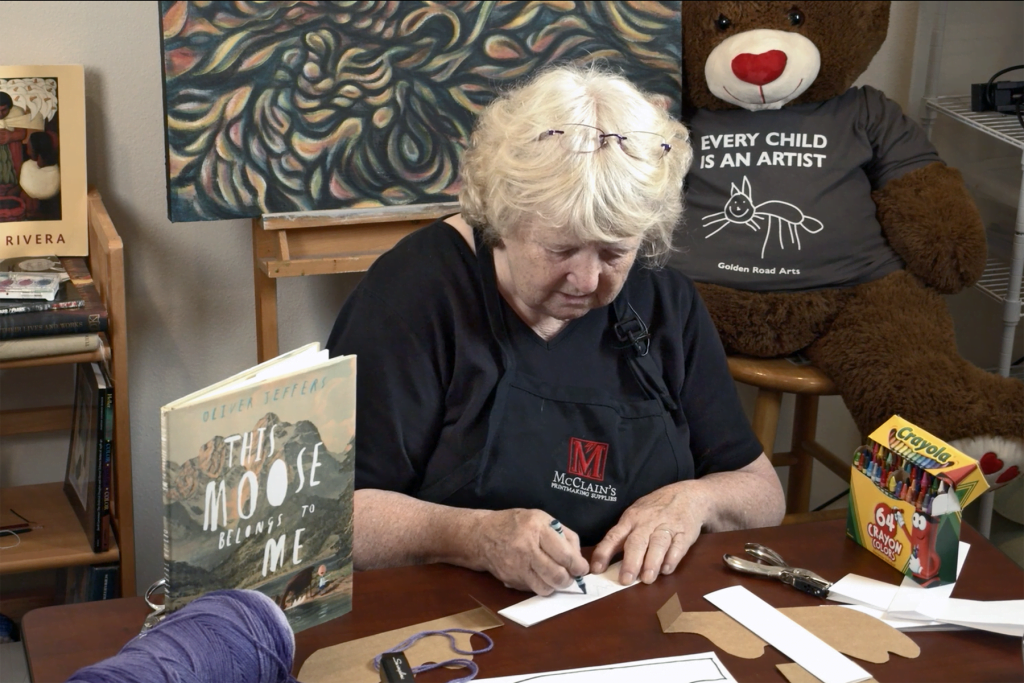
Hi there, this is Barbara Mason. Welcome back to Golden Road Arts. We’re going to be doing a really fun thing today. We’re going to be making some moose antlers. Moose have big antlers, and they’re very, very big animals. And the book today is called “This Moose Belongs to Me”. It’s by Oliver Jeffers and we’re going to make a moose headband, so this is very fun. We tried hard to think about what kind of a moose project we could do and everything we tried didn’t work perfectly. And then we thought, well, we could make our moose. And so, we’re going to make our moose.
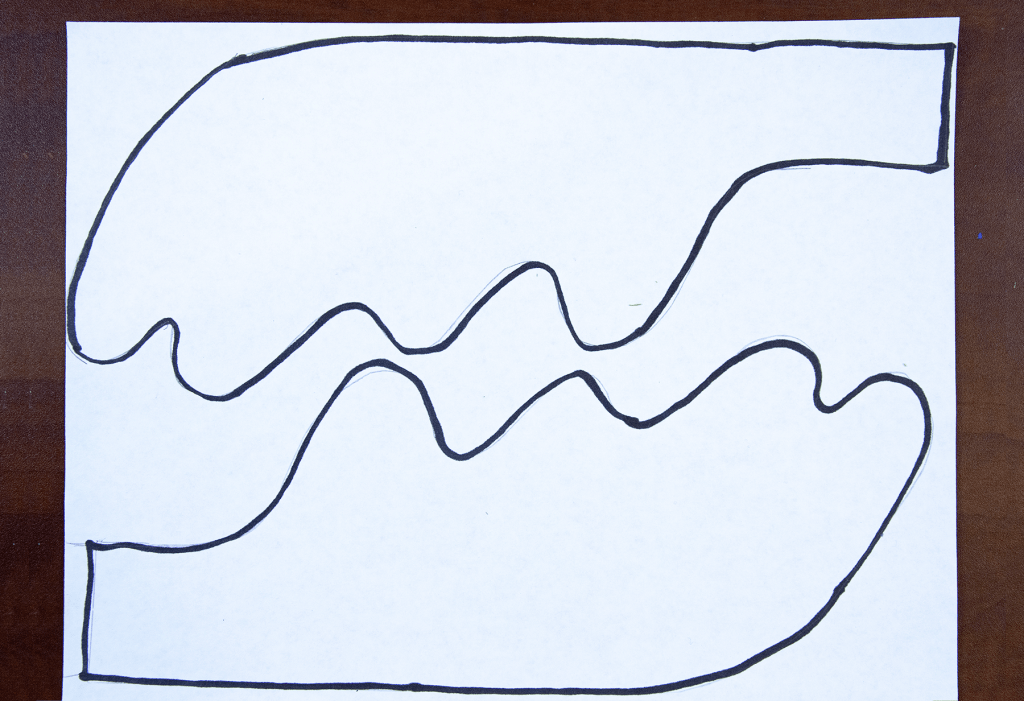
So, what I did, first of all, I have this paper here that has our moose antlers. We drew the antlers for you to cut out on it and moose ears are very big. They have huge ears and if you ever see a moose up close, you’ll back up and get back in the car because they are so huge. They’re much bigger than a horse. They’re just really big and they have these big ears that stick out very far. And when I read this book, I kept thinking about how the little boy in the book didn’t seem to be worried that the moose was so big. So, he is either a very brave little boy or he’s probably been around moose all his life.
So anyway, what we’re going to do is, we’re going to make a headband, so we’re going to take a piece of regular computer paper. And we’re going to fold it in thirds like this. We’re going to make it exactly the size of our moose headband here. We’re going to fold this over because we want to put it inside, and so we’re going to just fold this and fold it again.
And then we could decorate it if we want to. And I have my crayons here and I was thinking that if I was going to decorate this, maybe I would put mountains on it because this moose is in the mountains, and so I think I’ll just make some mountains here on my headband. And maybe I’ll do a lake. So maybe down here at the bottom there’s a lake. Maybe it goes all the way across. And then maybe I have some purple sky. Let’s see. Where’s purple?
This is a box of 64 crayons. So, when I was young – maybe your age or younger – I can remember how much I loved getting new crayons. There’s something about the way new crayons smell. You open the box, and they smell so good. It’s that new crayon smell. There just isn’t anything else in the world that smells quite the same. You know, as an artist – and I am an artist – I really love to work with crayons and the new crayon smell seems like a pretty good thing to me. So, the next time you open your crayons, you can lean over and take a whiff. And see if they smell good.
Alright, so now we’ve got our mountains. Let’s see, let’s do a different blue here and we’ll get a little snow on our mountain tops. Okay, and then maybe down below there’s a green because maybe there’s green trees. Above are the mountains, and so we’ll just make this a little green down here. So, we’ve got our lake and our mountains and our sky. Now we’re going to put in a few trees because you know, if you’re a moose, you live where there’s lots of trees and lots of greenery.
And tomorrow at the park we’re going to be doing this. I guess it would be really today by the time this is on the internet, we’re going to be doing the moose and the moose headband. So, one of the things we’re going to do is we’re going to take our moose ears and we’re going to put them in. Right in this little slot, but we need to put the three pieces together. We’re going to stick the moose ears in there. And then we want them to not come out. We want them to stick in there. So, we’re going to take our stapler and we’re going to staple them. That’s not coming out now. We’re going to take the other side. Put our moose ears in here.
So, there’s a couple of ways we could attach this. We could have made our headband bigger, but then we wouldn’t have been able to color on it. So, I wanted to color on it. So, we made it smaller. Now we have a paper punch and what we’re going to do is we’re going to punch two holes. One here, and one here, one at the bottom, one at the top, on both sides. You can see here on the table that I have a drawing that has the shape of the moose headband. The moose ears, so we’re going to put that on the internet so you’ll be able to download that if you can’t draw moose ears.
Now, we’re going to take our string that’s going to tie it to our head and we’re going to put it through. We’re going to put it through one loop and through the other loop like this. Now we’re going to turn it over. We’re going to turn it over on the back. We’re going to help you do this at the park, so you don’t have to do this all by yourself. We’re going to help you staple it and punch it and tie the string. So, we’re going to tie the string just like this, so it won’t come apart. I make a little knot. Again, I got a second piece of string here. So now depending on how big or how small your head is, it’ll depend on where you’re going to tie your tie. Where are you going to tie this? I want to get this pretty even, kind of like that, and we’ll just tie it in a knot.
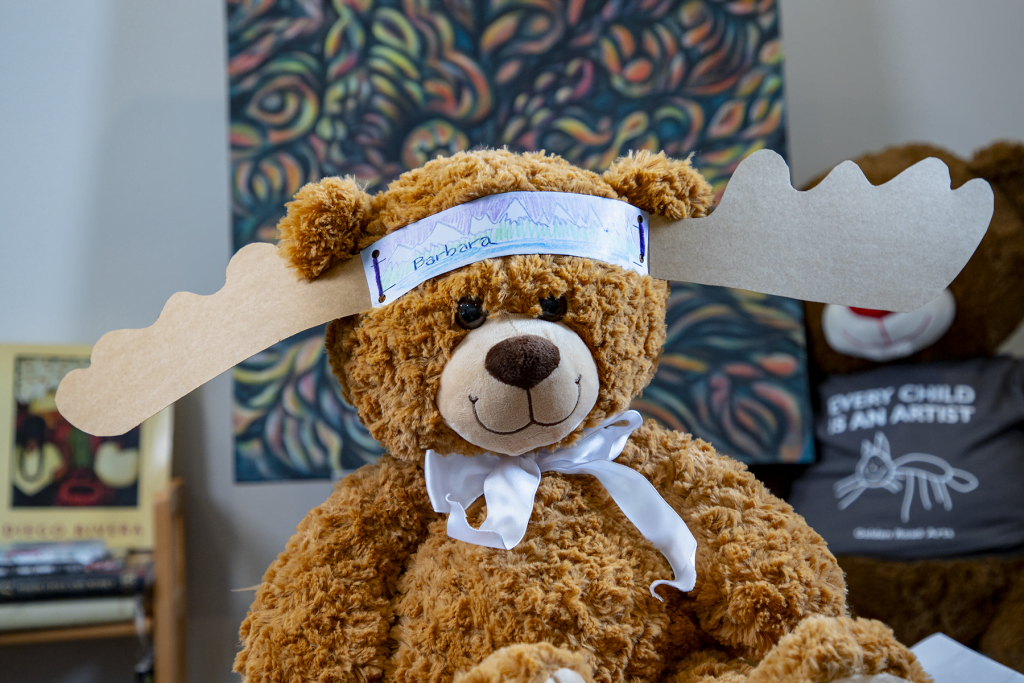
This would be a lot of fun when you come to the park and make your moose headband with us. And you know one of the things that you could put on this that I didn’t do, but we could sure do this, is we could put our name on this. So, I think I’m going to go back and maybe get a dark crayon. Maybe a really dark blue. But maybe in this corner, right over here, I’m going to write my name, Barbara. So now everybody will know that this is my headband. And although the moose doesn’t belong to me, the headband does, and the moose ears do.
So, we’ll close our crayons, and we’ll take our glasses off to do this. We’ll take our time to put it around our head, tied back here in the back. And there we are with my moose ears. How do I look with moose ears? I feel pretty good. You know, I wonder what a whole herd of moose are called. I wonder if they’re called a herd. We could have a moose herd parade if we got enough people with moose ears. So, I hope I’ll see you tomorrow or today –depending on when you see this – at the park and we’re going to be at Francis Street Park. And we’re going to be there at 6:00 o’clock making headbands with moose ears. So, hope to see you. Again, this is Barbara Mason at Golden Road Arts. And thank you so much for watching me make the moose ears.
Watch More Free Art Lessons for Kids
At Golden Road Arts, we have created a library of art lessons for kids. All of our art tutorials are available for free, and we also host in-person art events in the Hillsboro area. To get started, watch our free art lessons now.
You can also support us when you buy art from our online art gallery.

